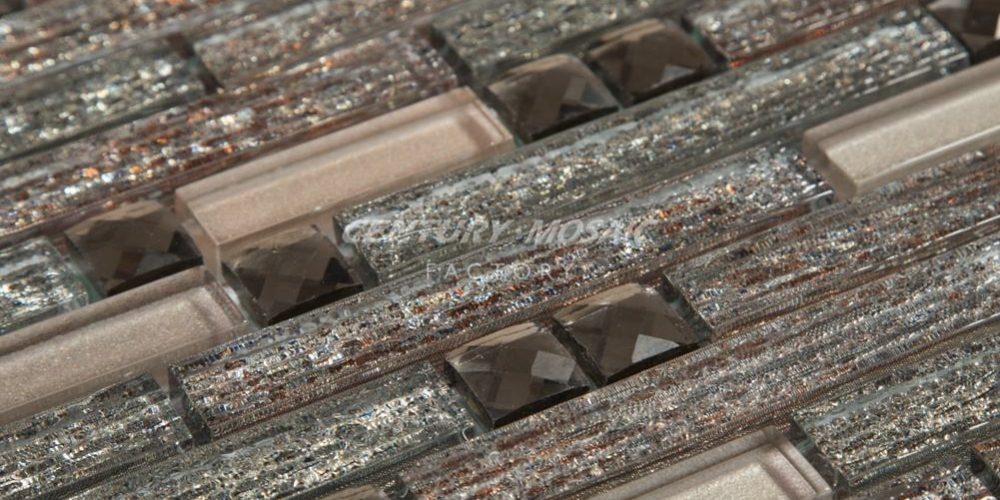
Installing glass mosaic tile can be a rewarding DIY project, transforming any space with a touch of elegance and vibrancy. Here’s a step-by-step guide to help you install glass mosaic tile effectively:
### Materials and Tools Needed:
– Glass mosaic tiles
– Tile adhesive (thin-set mortar)
– Notched trowel
– Tile spacers
– Tile cutter or wet saw
– Grout
– Grout float
– Sponge
– Tile sealer (optional)
– Level
– Measuring tape
– Pencil
– Safety goggles and gloves
### Step-by-Step Guide:
#### 1. **Prepare the Surface:**
– **Clean the Wall**: Ensure the wall is clean, dry, and free of dust, grease, and debris. Use a mild cleaner if necessary.
– **Repair Any Damage**: Fill in any holes or cracks with a patching compound and let it dry.
– **Prime the Surface**: Apply a primer if required, especially if you are tiling over a painted or uneven surface.
#### 2. **Plan the Layout:**
– **Measure the Area**: Measure the area you intend to tile and calculate how many tiles you will need.
– **Dry Fit the Tiles**: Lay out the tiles on the floor to get a sense of the pattern and to make sure you have enough tiles.
– **Mark the Layout**: Use a pencil and level to draw horizontal and vertical guidelines on the wall to help keep the tiles straight and even.
#### 3. **Apply the Adhesive:**
– **Mix the Adhesive**: Prepare the thin-set mortar according to the manufacturer’s instructions.
– **Spread the Adhesive**: Use a notched trowel to spread the adhesive on the wall, covering a small section at a time (around 2-3 square feet). Hold the trowel at a 45-degree angle to create grooves in the adhesive.
#### 4. **Place the Tiles:**
– **Set the Tiles**: Press the glass mosaic tiles into the adhesive, starting at the bottom center and working your way outwards. Use tile spacers to ensure even spacing between tiles.
– **Check for Level**: Use a level to ensure the tiles are straight and adjust as necessary.
– **Cut Tiles to Fit**: Use a tile cutter or wet saw to cut tiles to fit around edges, corners, and obstacles. Always wear safety goggles and gloves when cutting tiles.
#### 5. **Let the Adhesive Dry:**
– Allow the adhesive to set and dry completely. This usually takes about 24 hours, but refer to the adhesive manufacturer’s instructions for the specific drying time.
#### 6. **Apply the Grout:**
– **Mix the Grout**: Prepare the grout according to the manufacturer’s instructions.
– **Spread the Grout**: Use a grout float to spread the grout over the tiles, pressing it into the spaces between them. Work in small sections and remove excess grout with the float.
– **Clean the Tiles**: After about 10-15 minutes, use a damp sponge to wipe away any excess grout from the surface of the tiles. Rinse the sponge frequently and be careful not to remove grout from the joints.
– **Final Cleaning**: Once the grout has partially dried (after about an hour), buff away any remaining grout haze with a soft, dry cloth.
#### 7. **Seal the Grout (Optional):**
– If you are using a cement-based grout, apply a grout sealer after the grout has fully cured (usually 24-72 hours). This will help protect the grout from stains and moisture.
### Tips for a Successful Installation:
– **Work in Small Sections**: This prevents the adhesive from drying out before you can set the tiles.
– **Use Quality Materials**: High-quality adhesive and grout will ensure a longer-lasting installation.
– **Take Your Time**: Precision is key when working with mosaic tiles. Rushing can lead to misalignment and uneven surfaces.
– **Practice Safety**: Always wear safety goggles and gloves, especially when cutting tiles.
### Maintenance:
– **Regular Cleaning**: Clean the tiles regularly with a mild, non-abrasive cleaner.
– **Inspect the Grout**: Periodically check the grout for signs of wear or damage and reapply sealer as needed.
– **Avoid Harsh Chemicals**: Use gentle cleaning solutions to maintain the tiles’ appearance and integrity.
By following these steps and tips, you can successfully install glass mosaic tiles and create a beautiful, durable accent in your home.


