Enhancing spaces with glass tile can bring a unique blend of elegance, modernity, and vibrancy to various areas in your home. Here are several creative ideas and tips to help you maximize the aesthetic and functional potential of glass tiles:
### 1. **Kitchen Backsplashes**
– **Reflective Surfaces**: Use glass tiles with a glossy finish to create a reflective backsplash that enhances light and makes the kitchen appear larger.
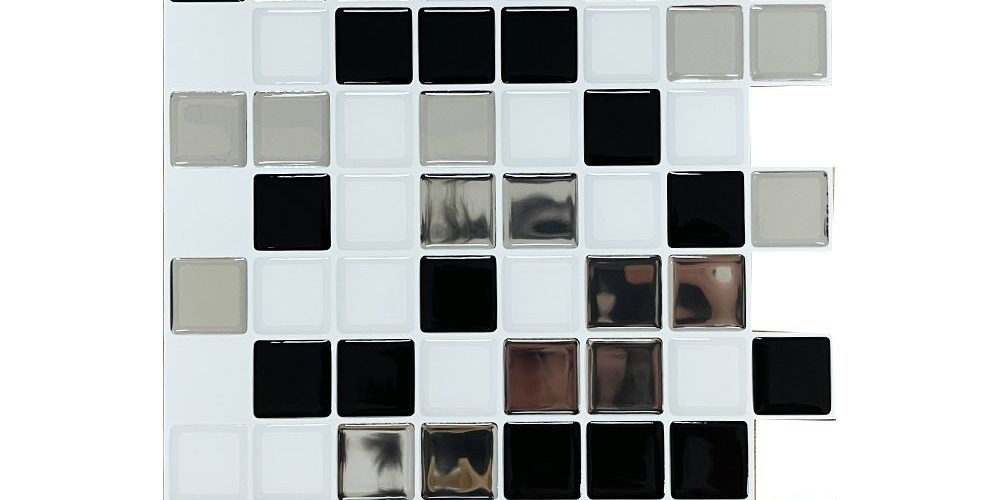
– **Mosaic Patterns**: Create intricate mosaic designs with small glass tiles in different colors and patterns for an artistic touch.
– **Gradient Effect**: Arrange tiles in a gradient from dark to light shades to add visual interest and depth.
### 2. **Bathroom Enhancements**
– **Shower Walls**: Cover shower walls with glass tiles for a sleek, spa-like atmosphere. Use large tiles for a contemporary look or small mosaics for more detail.
– **Accent Walls**: Install glass tile accent walls behind the vanity or bathtub to create a focal point.
– **Borders and Trims**: Use glass tiles as decorative borders or trims to add a touch of color and texture.
### 3. **Living Room and Entryway**
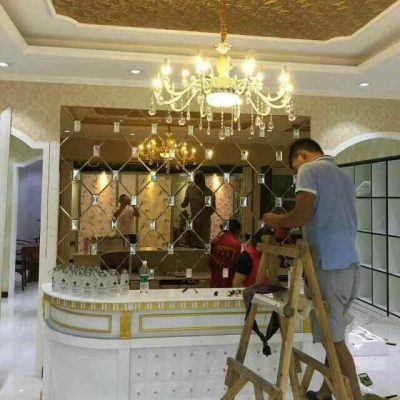
– **Feature Walls**: Create a stunning feature wall in the living room or entryway with large glass tiles or a glass tile mosaic.
– **Fireplace Surrounds**: Update your fireplace surround with glass tiles to give it a modern, elegant look.
– **Decorative Panels**: Incorporate glass tile panels as art pieces or decorative elements on the walls.
### 4. **Outdoor Spaces**
– **Patio Walls**: Enhance outdoor living areas by adding glass tile accents to patio walls or as part of an outdoor kitchen backsplash.
– **Water Features**: Use glass tiles to line fountains, pools, or other water features to add color and reflectivity.
### 5. **Furniture Accents**
– **Tabletops**: Create custom glass tile tabletops for coffee tables, dining tables, or side tables to add sophistication.
– **Cabinet Fronts**: Incorporate glass tiles on the fronts of cabinets or drawers for a unique, artistic look.
### 6. **Bedroom Enhancements**
– **Headboards**: Design a custom headboard with glass tiles to serve as a focal point in the bedroom.
– **Mirror Frames**: Frame mirrors with glass tiles to add elegance and style.
### 7. **Lighting Enhancements**
– **Pendant Lights**: Decorate pendant light fixtures with glass tiles to enhance the lighting and add sparkle.
– **Backlit Walls**: Install glass tiles on a wall with backlighting to create a dramatic and luxurious effect.
### 8. **Hallways and Staircases**
– **Stair Risers**: Decorate stair risers with glass tiles to add color and interest.
– **Hallway Borders**: Use glass tiles as borders along hallway walls or floors to add a touch of elegance.
### Tips for Using Glass Tiles:
1. **Choose the Right Color**:
– Select glass tiles in colors that complement your existing décor to create a harmonious look.
2. **Mix and Match**:
– Combine glass tiles with other materials like ceramic, stone, or metal to create unique designs.
3. **Use Proper Lighting**:
– Enhance the natural reflectivity of glass tiles with good lighting to maximize their visual impact.
4. **Plan the Layout**:
– Carefully plan the layout of your glass tiles before installation to ensure a professional and cohesive result.
5. **Consider Maintenance**:
– Glass tiles are easy to clean, but ensure the grout lines are sealed properly to prevent staining and make maintenance easier.
### DIY Project Ideas
1. **Glass Tile Coasters**:
– Adhere small glass tiles to cork or felt bases to create custom coasters.
2. **Glass Tile Mirror Frame**:
– Use glass tiles to frame a plain mirror, transforming it into a decorative piece.
3. **Glass Tile Tray**:
– Cover the base of a wooden tray with glass tiles for a chic serving piece.
4. **Glass Tile Stepping Stones**:
– Create decorative garden stepping stones by embedding glass tiles in concrete molds.
### DIY Installation Steps for a Glass Tile Backsplash:
1. **Prepare the Surface**:
– Clean and dry the wall where the tiles will be installed. Remove any grease, dirt, or debris.
2. **Measure and Plan**:
– Measure the area and plan your tile layout, starting from the center and working outward.
3. **Cut Tiles as Needed**:
– Use a wet saw or tile cutter to cut the glass tiles to fit around outlets, edges, and corners. Wear safety goggles and gloves.
4. **Apply Adhesive**:
– Spread tile adhesive on the wall with a notched trowel. Work in small sections to prevent the adhesive from drying out before the tiles are set.
5. **Set the Tiles**:
– Press the tiles into the adhesive, using spacers to ensure even spacing. Check for level and alignment as you go.
6. **Grout the Tiles**:
– Once the adhesive is dry, apply grout with a grout float, pressing it into the gaps between the tiles. Wipe off excess grout with a damp sponge.
7. **Seal the Grout**:
– After the grout has cured (usually 24-72 hours), apply a grout sealer to protect against stains and moisture.
8. **Final Cleaning**:
– Clean any remaining grout haze from the tiles with a soft cloth and a mild cleaner.
Using glass tiles creatively can transform ordinary spaces into extraordinary ones, adding a touch of elegance, color, and modern style to your home.


