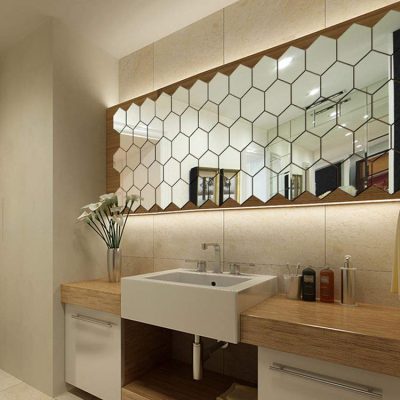
Sure! Here’s a step-by-step guide to installing glass tile:
### Materials and Tools Needed:
– Glass tiles
– Tile adhesive (thinset mortar)
– Tile spacers
– Notched trowel
– Grout
– Grout float
– Tile cutter or wet saw
– Tape measure
– Level
– Pencil or marker
– Sponge
– Bucket
– Safety goggles and gloves
### Step-by-Step Guide:
#### 1. **Preparation**
– **Clean the Surface**: Ensure the surface where you’ll be installing the tiles is clean, dry, and free of any debris.
– **Measure and Plan**: Measure the area to be tiled. Plan your tile layout, starting from the center and working your way out to ensure even spacing and alignment.
#### 2. **Cutting Tiles**
– **Measure and Mark**: Measure the tiles that need to be cut to fit at the edges or around obstacles. Mark the tiles where they need to be cut.
– **Cut the Tiles**: Use a tile cutter or wet saw to cut the glass tiles to the appropriate size. Wear safety goggles and gloves during this step.
#### 3. **Applying Adhesive**
– **Mix the Thinset Mortar**: Follow the manufacturer’s instructions to mix the thinset mortar to the right consistency.
– **Apply the Thinset**: Use a notched trowel to spread the thinset mortar onto the surface. Hold the trowel at a 45-degree angle to create even ridges in the adhesive.
#### 4. **Installing Tiles**
– **Set the Tiles**: Place the glass tiles onto the thinset, pressing them firmly into place. Use tile spacers between each tile to ensure even spacing.
– **Check for Level**: As you go, use a level to make sure the tiles are even. Adjust as necessary.
#### 5. **Let the Adhesive Set**
– **Drying Time**: Allow the thinset to dry according to the manufacturer’s instructions. This usually takes 24 hours.
#### 6. **Grouting the Tiles**
– **Mix the Grout**: Follow the manufacturer’s instructions to mix the grout.
– **Apply the Grout**: Use a grout float to spread the grout over the tiles, pressing it into the spaces between them.
– **Clean Excess Grout**: Use a damp sponge to wipe off excess grout from the surface of the tiles. Rinse the sponge frequently.
– **Final Cleaning**: After the grout has set (usually after a few hours), use a clean, damp cloth to remove any remaining grout haze from the surface of the tiles.
#### 7. **Sealing the Grout (Optional)**
– **Apply Sealer**: Once the grout is fully cured (usually after 72 hours), you can apply a grout sealer if desired to help protect the grout from stains and moisture.
### Tips:
– **Work in Small Sections**: Especially if you’re new to tiling, it’s easier to work in small sections to ensure the adhesive doesn’t dry out before you can set the tiles.
– **Use Proper Lighting**: Good lighting helps you see your work area better, ensuring more precise cuts and placements.
– **Practice Safety**: Always wear safety goggles and gloves when cutting tiles to protect yourself from sharp edges and debris.
By following these steps, you can achieve a professional-looking glass tile installation. Good luck with your project!


